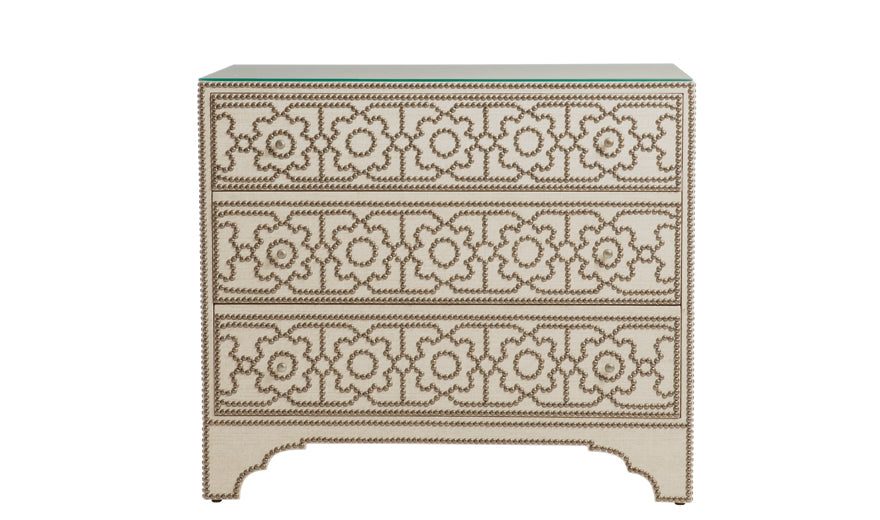
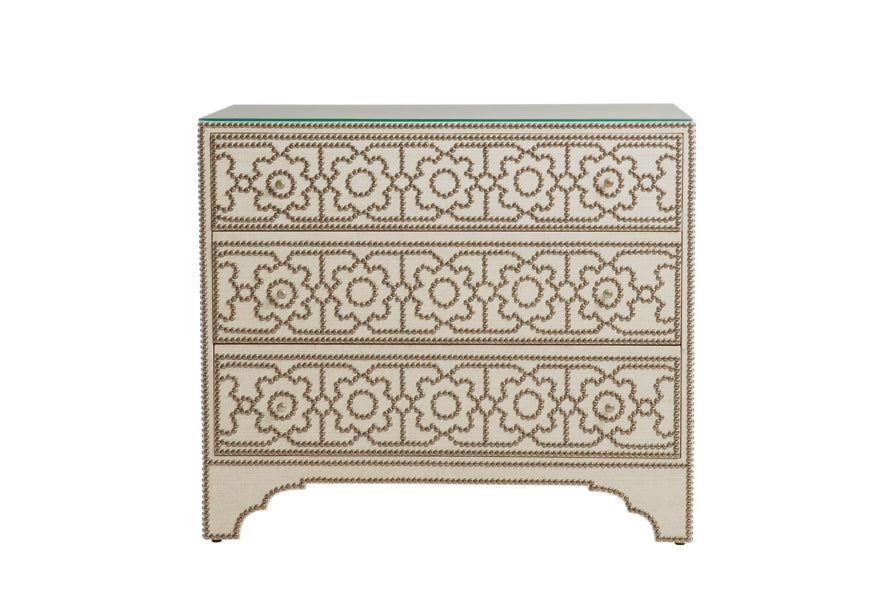
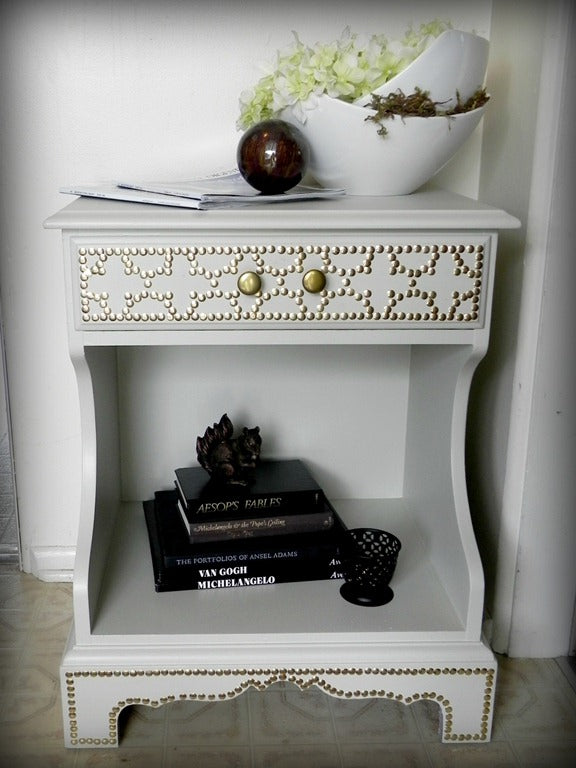
Jessica from Mad in Crafts , created a similar look under $6! After sanding an old 1970s reject piece and covering it with a creamy coat of paint, it turned out to be perfect basis for the makeover. Using a drill, tacks from the dollar store, a flower pattern and lots of patience, she created a show-stopping look for her entryway. “I love that my new entryway table greets our guests with a massive dose of style and design,” she exclaims. “It was such a bland space before, now it demands attention!” Read about the full project here .
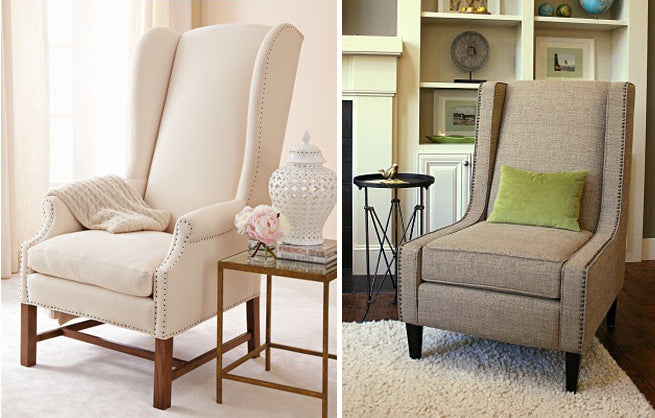
The second to-die-for DIY is nailhead trim on a fabulous upholstered chair, similar to the stunning Foley chair from Horchow (pricing at a whopping $2,099!). Janell walks us through, step-by-step, over at her blog Isabella and Max Rooms , converting a basic living room piece into a designer’s dream. She used a tape measure as a guide to help position the nailhead trims at even intervals, hammering them in place. “A safe bet is to run the trim around the lower edge of the piece of furniture, though I chose to run the nails up the outer lines of the chair to really showcase the shape of this chair,” she advises. For the full tutorial, see here .
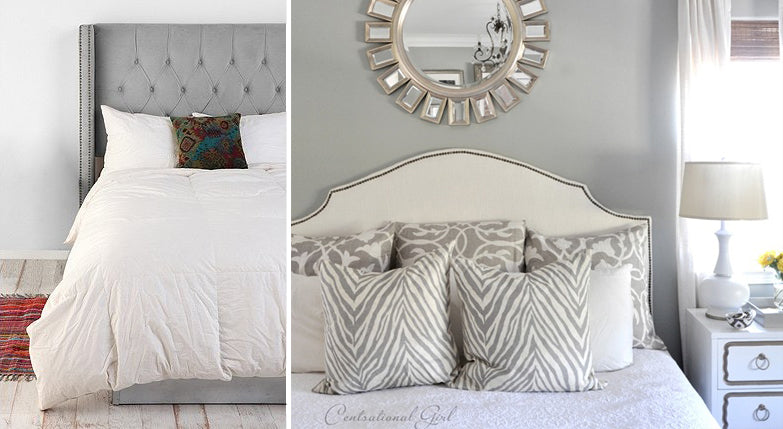
Last, but certainly not least, is a DIY nailhead trim headboard by Kate of Centsational Girl . Nailhead trimming around a headboard is perhaps one of the easiest projects yet creates a dramatic effect. Add nailhead trimming to your already upholstered headboard or follow her intricately detailed steps here to creating the entire piece, all for under $70. She recommends Beacon Fabric for nailhead trim kits and used the French Natural and Pewter colors in this project. Your finished product will rival a mass-produced piece, such as the Rival Empire Headboard from Urban Outfitters ($598).

